

I have lots of little abstract tops floating around from my Abstract-A-Licious class and recently was able to layer and stitch a few of them up. They make great “to-go” embroidery projects when I’m at a meeting or waiting at one of my kids classes.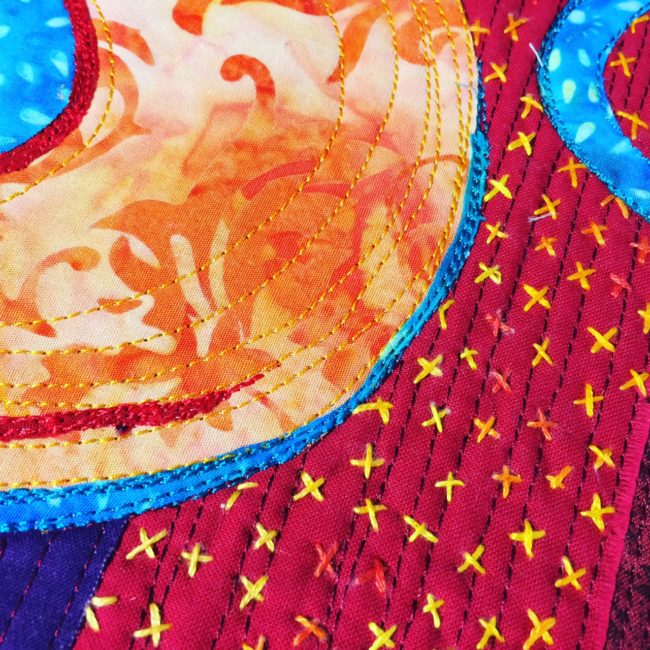 When I work small (under 18″ or so) I leave my back layer off as I do all of my stitching. Yes, that means top and batting only while I do my machine and hand stitching. Then I fuse a backing on to cover up all the mess and trim everything nice and straight …. if it’s the kind of piece that wants to be nice and straight.
Next up is a very important little bit if you want to satin-stitch or even just zig-zag your edges as a finish. A little triangle of fusible craft stabilizer gets ironed to each corner. If you are a person who thinks ahead – you add this little triangle of craft stabilizer to the back of the quilt-let BEFORE you fuse the back on – so it hides between the layers. As you can see, I’m not a person who things ahead.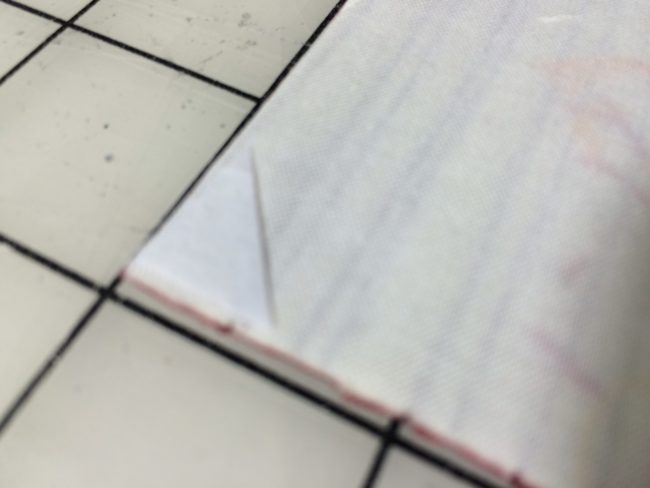 Next up – choose your thread color – it will become an integral part of the design. I thought red would tie this little piece together without overwhelming anything. You can always pull out and double (or quadruple) up the thread and and lay it out on your quilt before actually choosing which color to use. Audition it. See what works. Take a picture of each option and look at the thumbnails all together if you can’t choose.
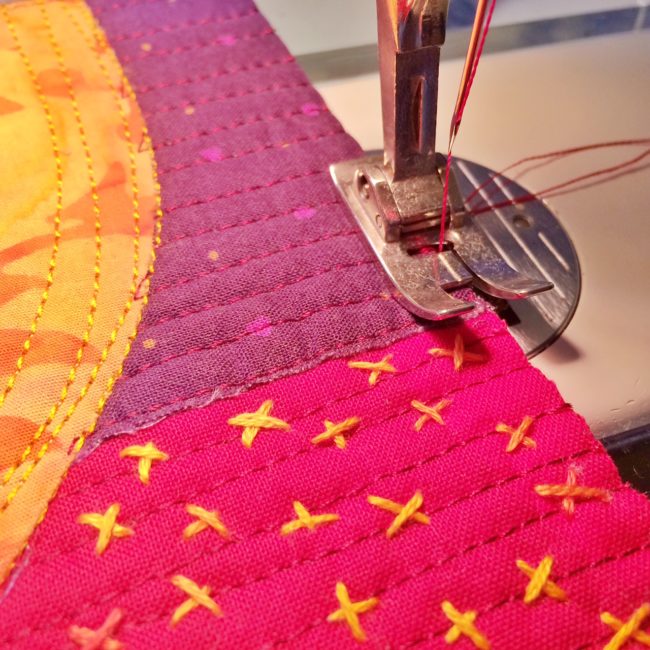
Now start in the middle of an edge. A few short straight stitches then a good wide zig-zag, although not your widest. I set the needle to just barely miss the right edge and head on down towards a corner. When you get to the corner, stop the needle on the right, leaving it down. Carefully lift the presser foot and swing the quilt-let down without moving it away from the needle.
 Now slowly make the next couple of zig-zags on top of the stitching that is already there. Carry on in the same manner all the way around. You can see in the photos here that I’m already on the second layer. My first layer of zig-zag seems to just hold the edges and everything together.
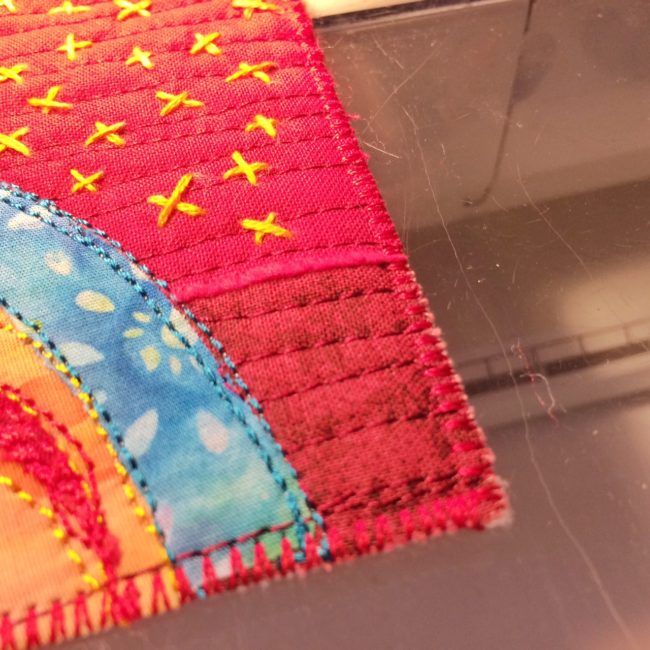 On the second go-round I shorten my stitch length to satin stitch closeness – but widen out my zig-zag so that it is just wider than my first go-round.
 When you have gone all the way around a second time, end with a couple of very short straight stitches and back stitch just one or two stitches. I cut my thread then flip over the piece and give a good hard yank on the back thread to pop the front thread through just a bit. I trim the thread right there at the fabric and it leaves no fuzzy little tail on the front.
And – there you go. Enjoy!


1 Comment
Guila Greer
July 4, 2017 at 7:10 pmSo glad to find this! I just realized that the 42″ by 34″ art quilt I’m almost finished quilting will not be suitable for a facing (or binding definitely) so I’m going to satin stitch the edges. Your article has some terrific ideas. Thank you!
Notice: Undefined variable: consent in /home/lyricki/public_html/wp-content/themes/hawthorn/comments.php on line 49