
I’ll give you a quick run down of the process I used to get this photo ready for the transfer process. Take a look at the tutorials to get the full instructions on how to use Photoshop Elements (or any other digital editing program) to do it yourself.

Baroness De Guestra
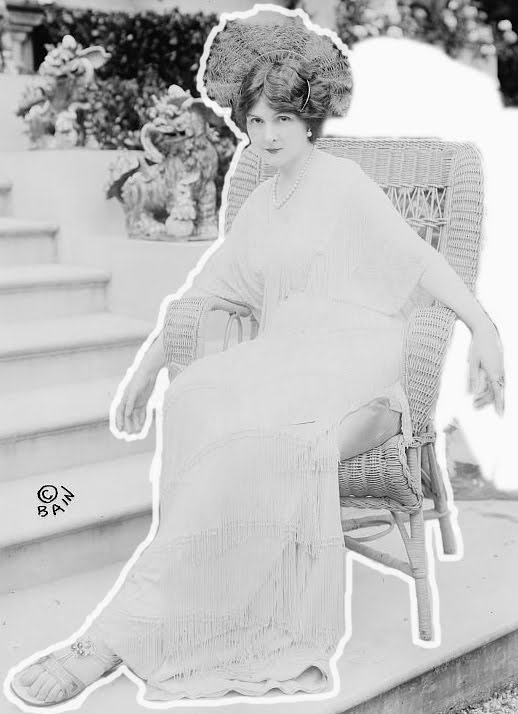
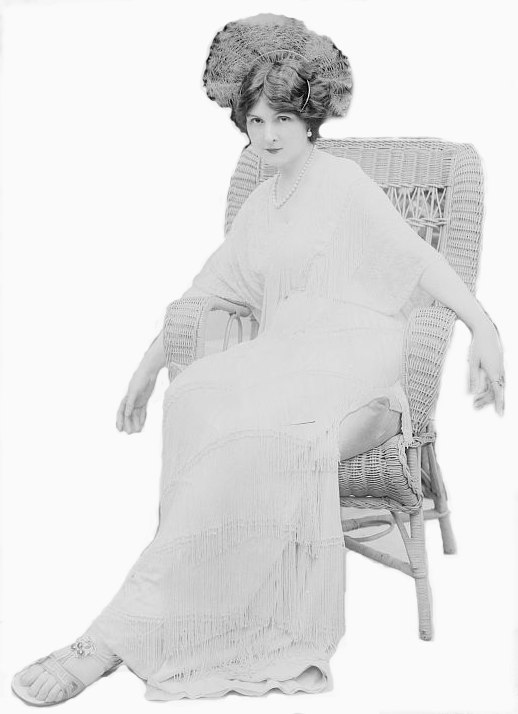 I used the Zoom tool to blow the picture up quite a bit for better visibility. Next I used the Erase tool at 100% opacity to outline the Baroness. There isn’t quite enough contrast between her dress and the background for the Magnetic Lasso tool to be effective. Once she’s got an outline then I used the lasso to select her, Invert the selection, and Delete the entire background.
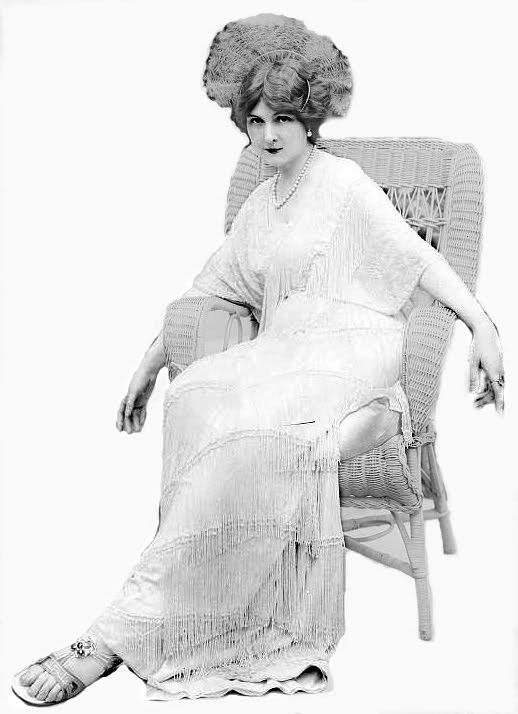
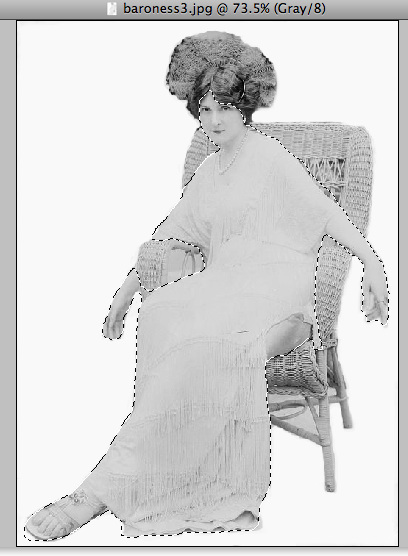 I carefully used the Magnetic Lasso Tool to select just her face and body then played around with Brightness and Contrast. I used the command and the shift keys to add and subtract areas to the selection before I did so.
Once done I realized that the shadow of her dress on her thigh bothered me so I Selected only that area and boosted the Brightness. I like that much better.
I think the Baroness might have been a very interesting guest at a dinner party, don’t you?


No Comments