

As promised – here is part 2 of my process in creating a series of works for
The Art Box CSA
|
|
|
Art Box work by Lyric Montgomery Kinard |

(part 1 on the process for these works can be found here)
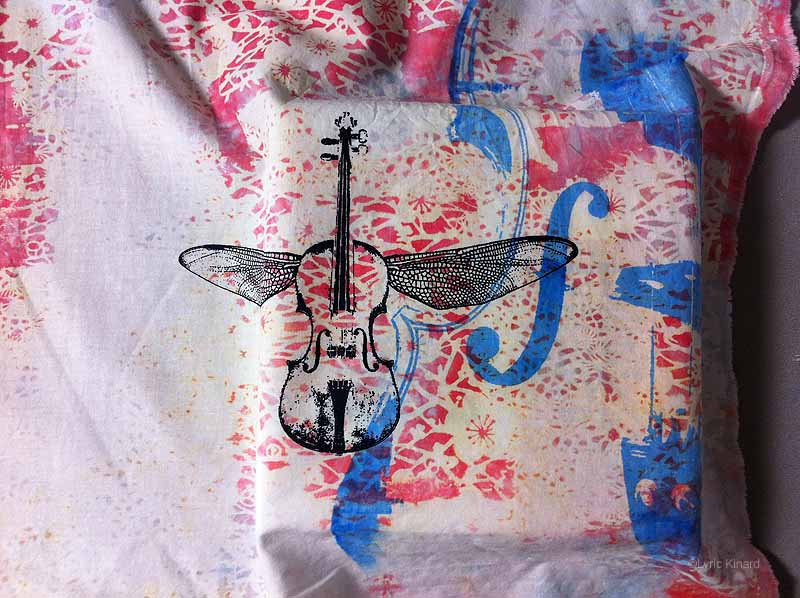
Position your unstitched top on your canvas and trim it down – leaving enough cloth to wrap to the back of your gallery wrapped canvas. In this instance I’m using and 8″x8″ canvas, 1.5″ deep.
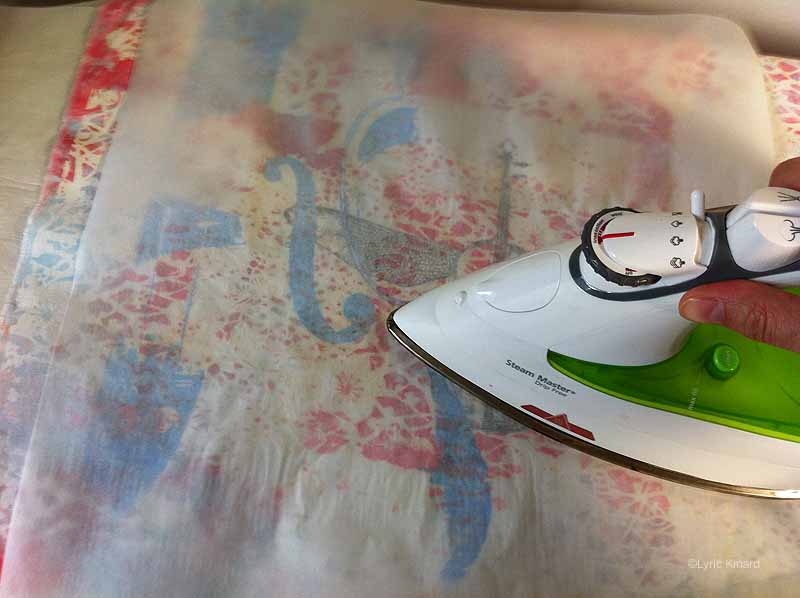
Adhere fusible web (regular weight Wonder-Under is my favorite) to the back side of your finished top.

Trim the cloth and remove the release paper.
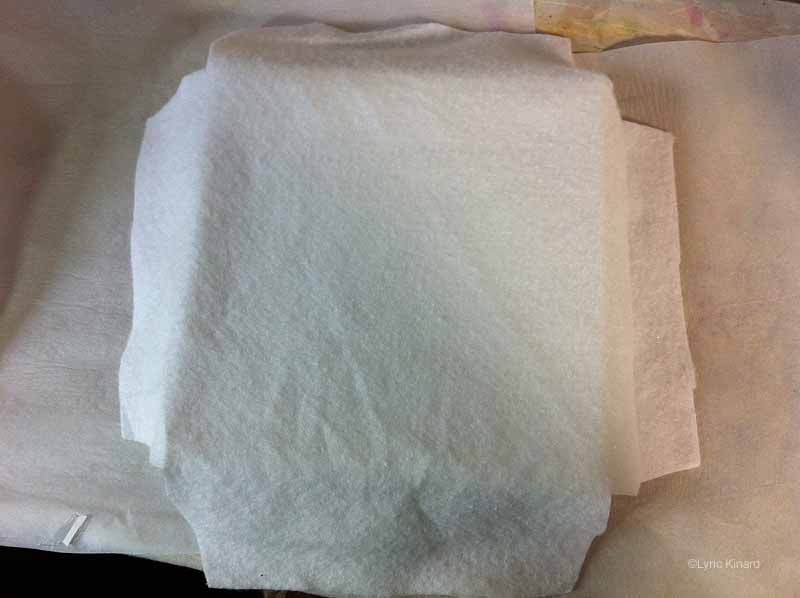
I’ve placed batting on the canvas with just enough to cover the edges and cut out the corners.

Carefully position the cloth on the canvas

I use the release paper on each side to protect both the iron and the board as I make sure the fusible web is well adhered to the cloth and the batting.
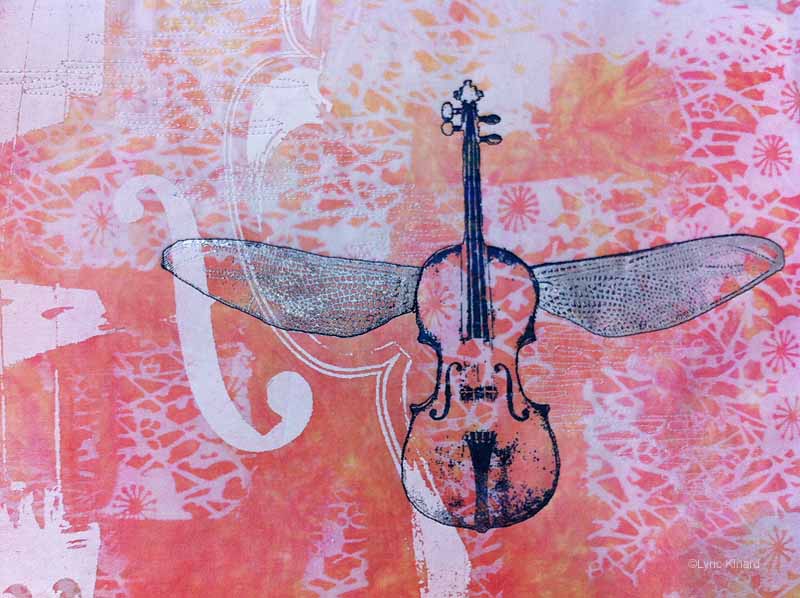
Quilt or stitch and embellish your cloth with the batting but no backing. (yes – it’s a different top in the series from here on out – the pictures were better on this one.)
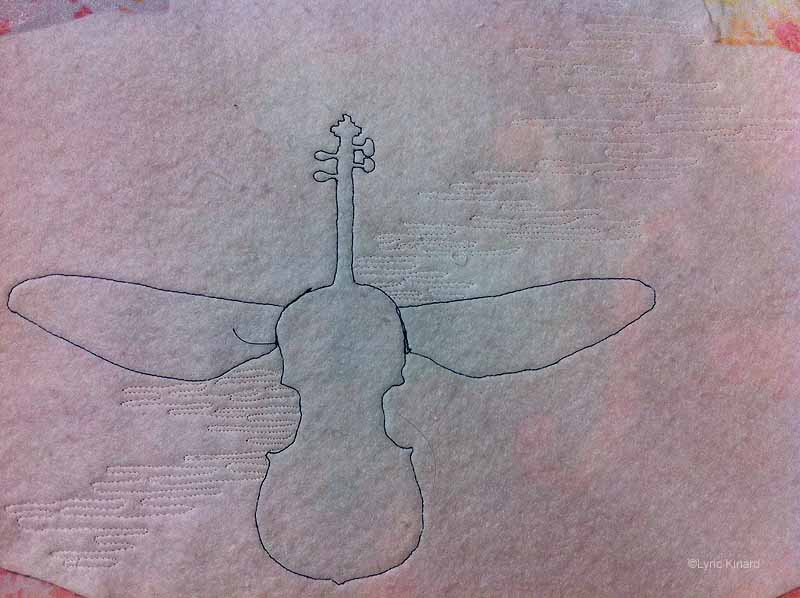
Here is the stitching from the back – yup – no backing cloth – just the batting.
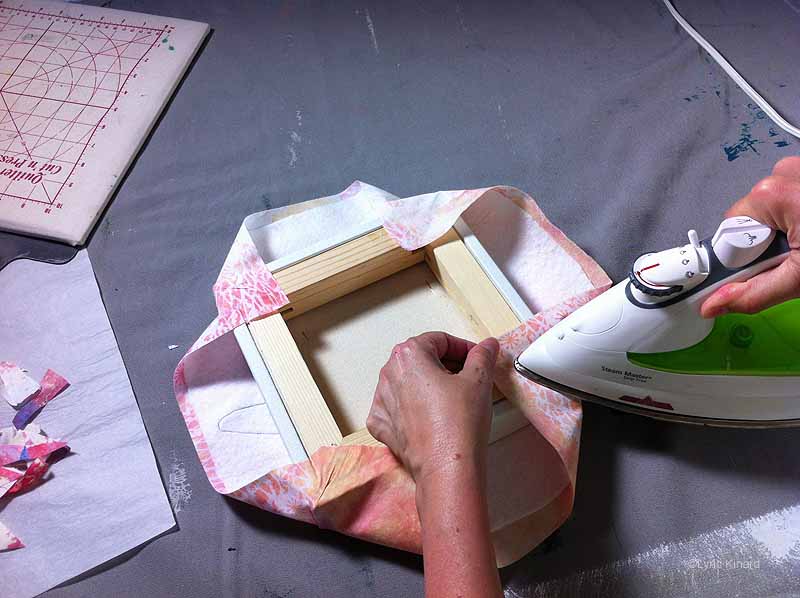
Pull each of the four corners up and fuse them over the back to the wood. I trimmed the corners where they overlapped into the middle as per the next picture.
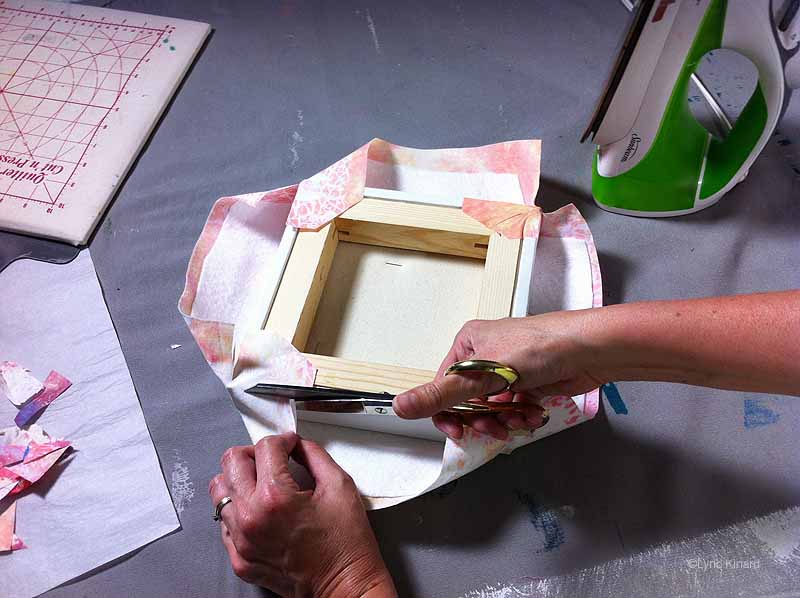
Cut the cloth along each side, almost to each corner. Leave just a bit connected.
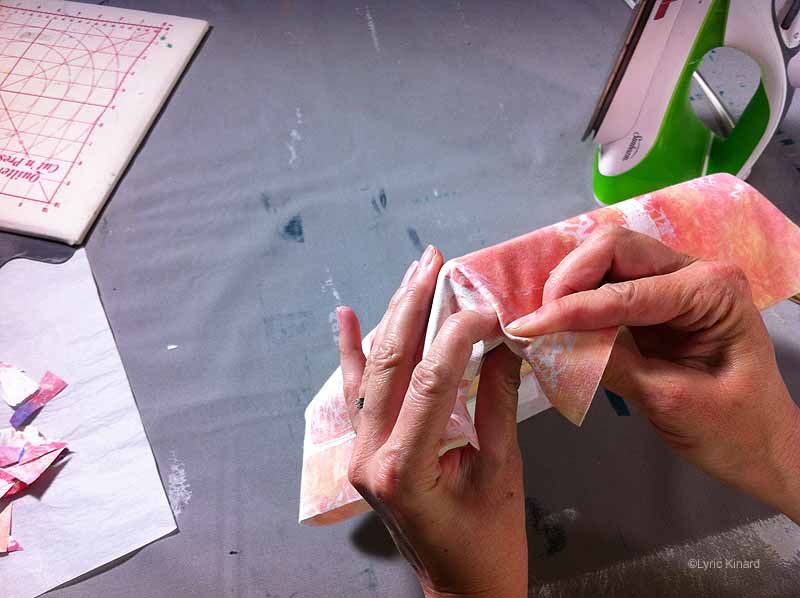
Tuck in the cloth on the corner, carefully creating a little pleat, pulling the edge of the fold cleanly to the corner edge of the frame.
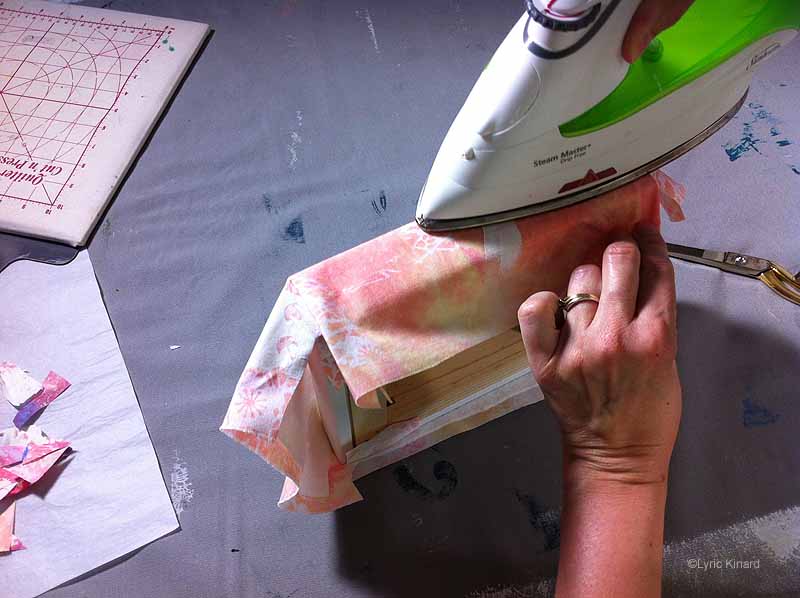
Iron the side of the canvas, making sure the iron only touches the side, not the back of the canvas. You need to hold the pleat in place – but be very careful not to burn your fingers.

Cut and trim out any excess cloth, making sure to leave enough cloth with exposed fusible to be able to tack it down. Sometimes I’ll pull a little of the batting away and trim it as well.
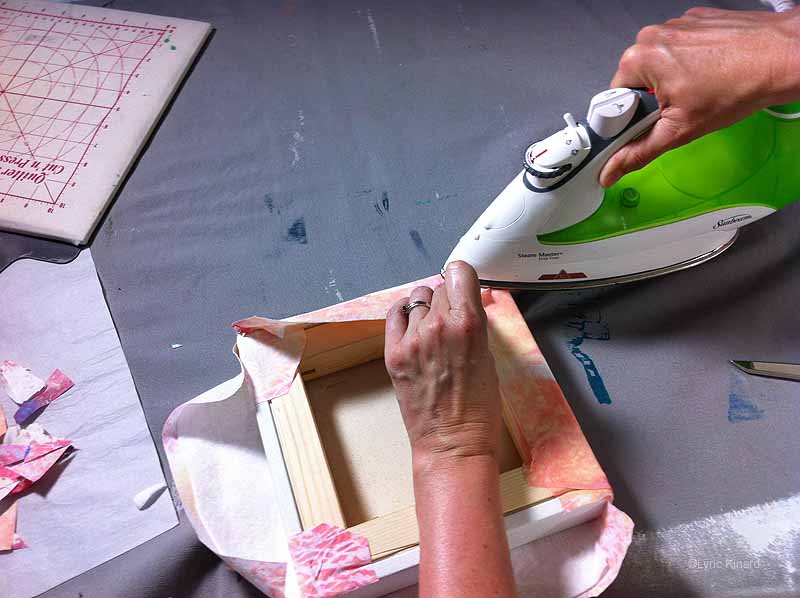
Pull each flap in to the wood and iron it down, making sure the corners are cleanly folded. There should be enough exposed fusible web to seal the fabric to itself on the corners and the wood around the edges.
Press all the flaps of fabric to the wood. Sometimes I leave the cloth long enough to press into the inside of the wood frame to give it a really clean look.

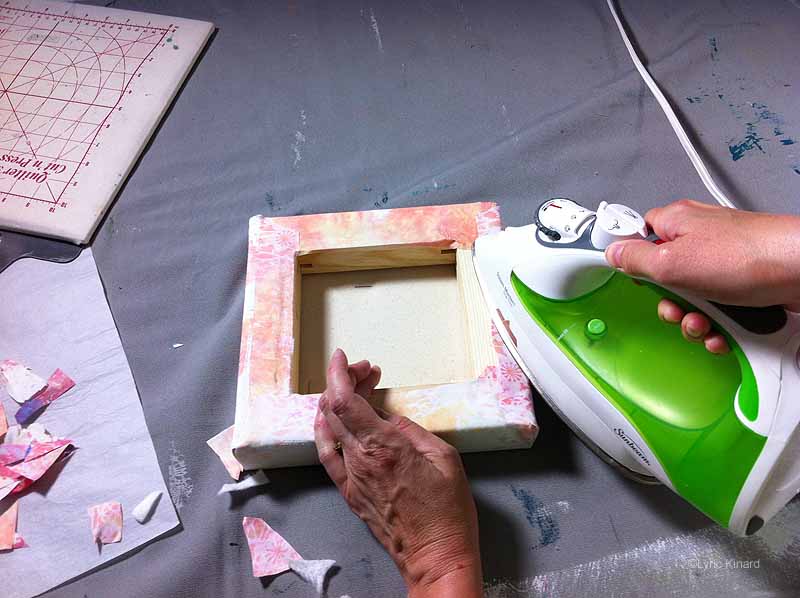
One last press of each edge.

Lovely clean corners.
If you enjoyed this tutorial I know you will love my online course:

UPGRADE YOUR ART by learning a variety of professional presentation options for textiles. Award winning artists, Lyric Kinard shows you mounting and framing options. Learn which factors to consider to present your work in the best possible light.
All of these video based lessons will be yours to access permanently in this open-access course. Lesson one opens June 19th in this premier run of the course, with one lesson opening each week afterwards. After that – all lessons will be available immediately for new registrants.


6 Comments
Tutorial: How to Attach Textile Art to Stretched Canvas
January 1, 2017 at 5:04 am[…] on stretched canvas to make them more user-friendly and approachable for collectors. Helen Conway, Lyric Kinard and others share useful tutorials for wrapping stretched canvases while both Deborah Boschert and […]
Kris
January 18, 2015 at 3:34 pmVery helpful, thanks. I have a wooden frame (I built it myself, no canvas on it), and a large sheet of cloth-art that I want to mount on the frame. I plan to stiffen the cloth in the way you’ve described, then stretch it over the frame like a canvas.
Could I use almost any cloth as a “batting”? (What is batting, by the way? I couldn’t find many references to it on Google – Perhaps it’s known differently up here in Canada) Thanks again.
Janet Williams
April 12, 2015 at 2:46 pmHi Kris, I’m in B.C. Canada. Quilt batting can be found in any quilt shop or Fabric Land store.
A blend of 80% cotton, 20% polyester is a good type to choose because it is not too thick. It looks like the type used in the tutorial. 100% cotton will work too.
Janet
New Work: The ArtBox CSA
October 2, 2013 at 8:17 pm[…] A tutorial for this mounting technique can be found here. […]
Roxane Lessa
September 1, 2012 at 10:57 pmSo much better than my method- I may steal this one! You have been a busy girl this Summer-I love the beach pictures! I am on the little things add up path too. In fact, I’m doing a year long program with Christine Kane, who is a fabulous coach!
Linda
August 23, 2012 at 7:55 amOh clever – not a staple in site, but what fusible do you use? I can’t imagine mine taking the tension and remaining stuck to the wood!
Notice: Undefined variable: consent in /home/lyricki/public_html/wp-content/themes/hawthorn/comments.php on line 49